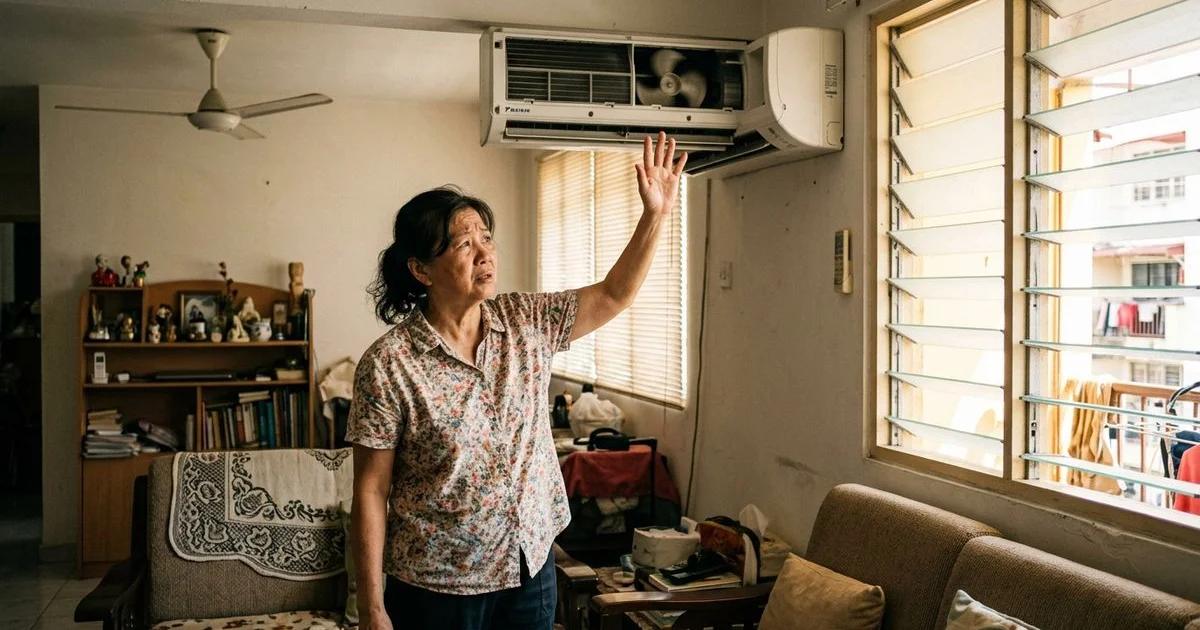
An indoor unit that suddenly starts dripping onto the floor is one of the most common service calls we receive at AC Service Pro Cheras. The good news: in almost nine out of ten cases, the cause is a simple drainage issue that a professional can resolve in a single visit.
This guide walks through the reasons your aircond is leaking, how to tell them apart, and which ones you can safely investigate yourself before booking a technician.
Why Your Aircond Produces So Much Water in the First Place
Air conditioners are technically dehumidifiers that happen to blow cold air. As warm room air passes over the freezing evaporator coil, the moisture in it condenses into water, the same way a cold glass sweats on a humid afternoon.
In Cheras, that humidity almost never drops below 70 percent. A standard 1.0HP unit running in a bedroom here can generate up to two litres of condensate per hour. All that water needs somewhere to go, which is where the small 15mm PVC drain pipe inside the wall comes in.
When the leak shows up inside the room rather than at the outdoor drain outlet, it means that pipe or the tray feeding it is compromised.
The Condo Factor
Most leaks we see come from high-rise units in places like Bandar Sri Permaisuri and Taman Midah. The reason is simple: condo drain lines share vertical chases, and when one neighbour’s sludge backs up, the water finds the weakest escape point in your unit instead.
If you live in a newer development and your leak started right after a neighbour’s renovation, mention it when you call us. It changes how we diagnose the problem.
Cause 1: Algae-Clogged Drain Line
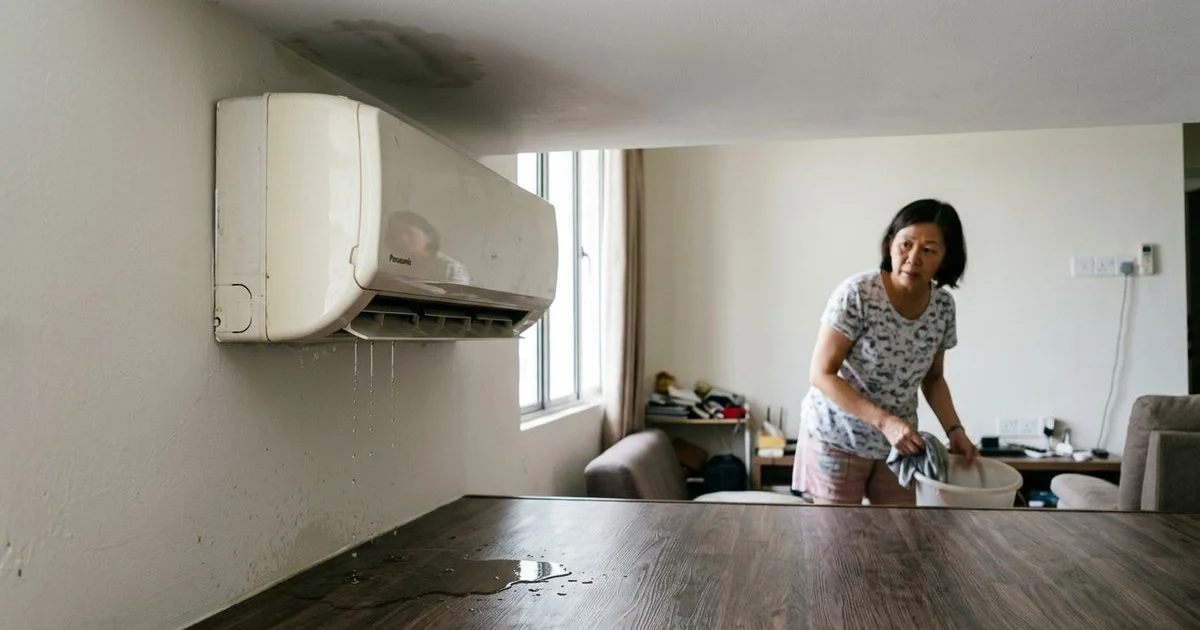
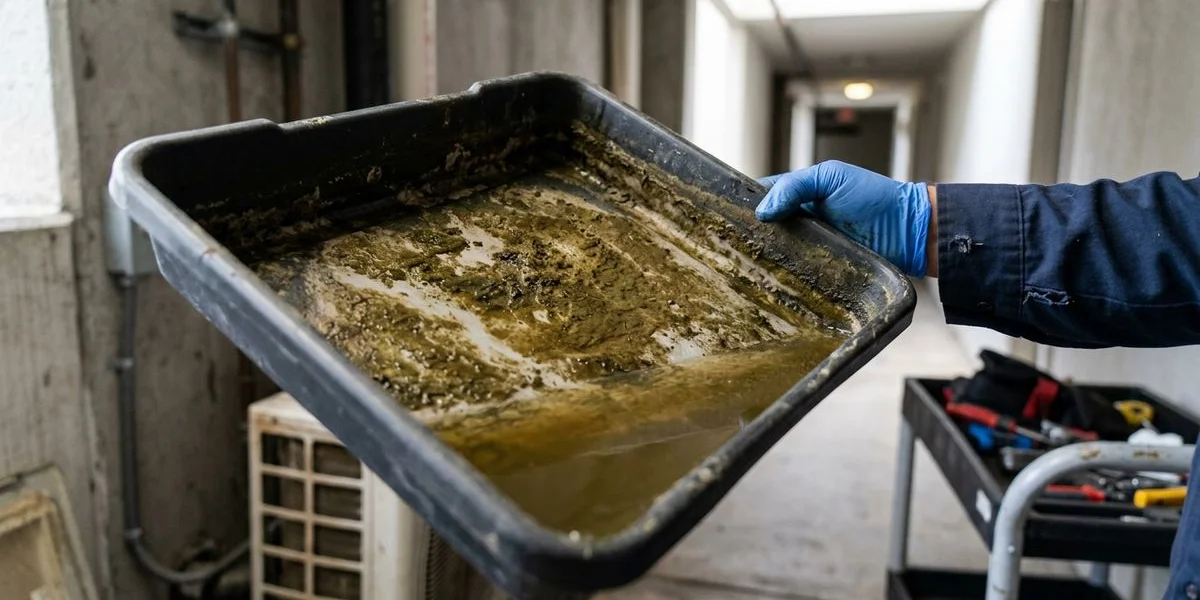
This is the single most common culprit, accounting for more than half of the leaks we attend. The drain pan sits under the evaporator coil catching every drop of condensation. It is dark, warm, and constantly wet, which is exactly the environment algae loves.
Once the algae slime tightens the 15mm PVC line, water backs up and spills out of the front of the indoor unit.
| What You See | What We Do |
|---|---|
| Steady drip from the front or sides of the unit | Nitrogen or high-pressure flush of the drain line |
| Water stains appearing on the wall below the unit | Full chemical wash of coil and drain pan |
If the unit is overdue for servicing, a chemical wash solves the algae problem at the root rather than just clearing the immediate blockage.
Cause 2: A Unit That Is Not Level
This one sounds silly but we find it surprisingly often in older Cheras flats where walls have settled over time. If the indoor unit was not mounted with a proper slight tilt toward the drain outlet, water collects at the wrong end of the tray and overflows.
You can check this yourself with a cheap bubble level placed across the top of the unit. A half-degree off is enough to cause leaks.
Cause 3: Frozen Evaporator Coil
When low refrigerant or a blocked air filter causes the coil to run below freezing, ice forms on it. Once that ice thaws, the sudden flood overwhelms the drain pan.
Warning signs to watch for:
- Heavy drips followed by long dry spells.
- Cool air alternating with warm, room-temperature air.
- Visible white frost on the copper pipe at the outdoor unit.
Turn the unit off for two hours if you see any of this. Running a frozen system damages the compressor.
Cause 4: A Failed Drain Pump (Cassette and Concealed Units)
Ceiling cassettes and concealed ducted units cannot rely on gravity. They use a small electric pump to lift the water up and into the chase above the false ceiling. When that pump fails, the internal tray overflows and water drips from the corners of the ceiling grille rather than the unit itself.
This is a common problem in commercial units around Taman Maluri and Cheras Business Centre, where cassette systems run twelve hours a day. Pump replacements for brands like Daikin and Acson typically run between RM150 and RM350 depending on capacity.
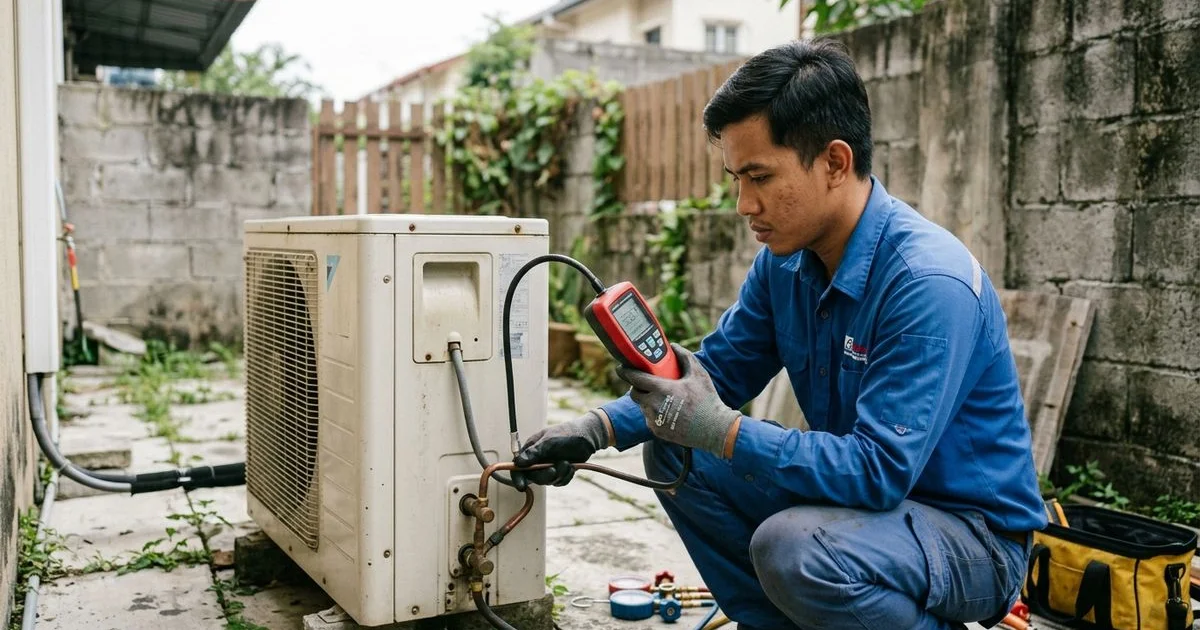
Cause 5: A Refrigerant Leak
Low gas drops coil pressure and causes the same freezing issue described above. The difference is that gas leaks are self-reinforcing. Each top-up without a proper seal makes the problem worse. If we find a leak, we pressure test, locate it, solder or replace the joint, vacuum the system, and recharge. Never skip steps.
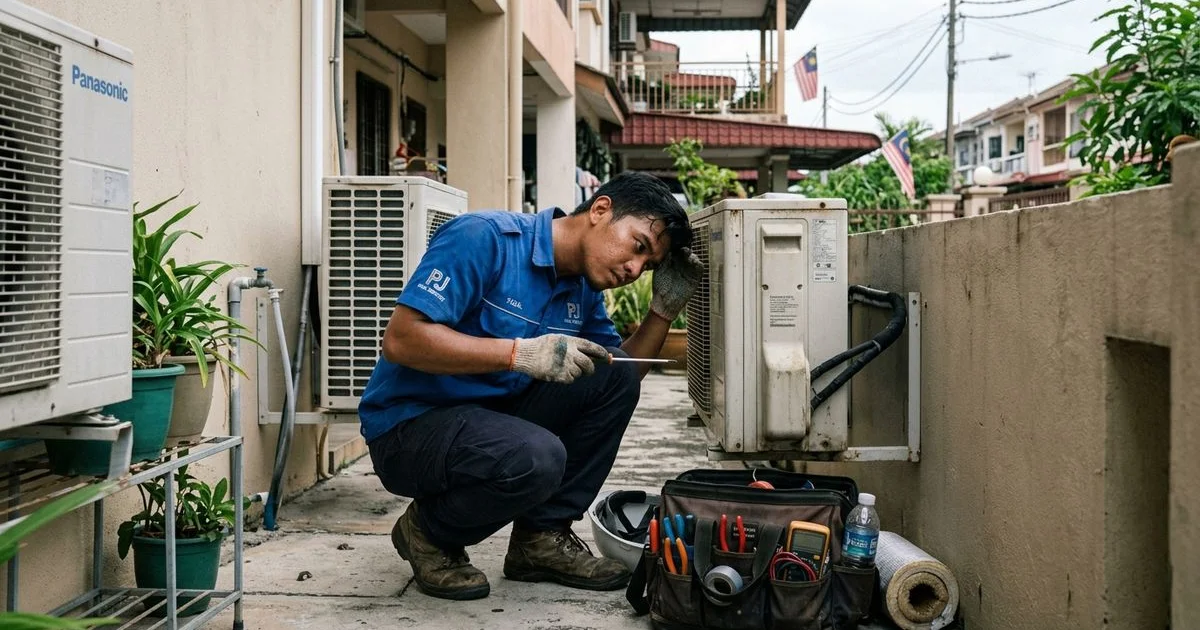
Five DIY Checks Before You Call
We ask dispatchers to run every caller through these questions. If you can answer them before we arrive, we bring the right parts on the first trip.
| Step | What to Check |
|---|---|
| 1. Air filter | Pop the cover, wash the mesh, dry completely before refitting. |
| 2. Remote mode | Confirm it is set to Cool, not Dry or Fan. |
| 3. Outdoor drain outlet | If water is flowing outside, the drain is clear and the leak is coming from something else. |
| 4. Outdoor unit fan | Listen for the fan and a deep compressor hum. Silence means an electrical problem. |
| 5. Unit level | Place a bubble level on the top. Any tilt can cause overflow. |
When to Stop Troubleshooting and Call Someone
Some leaks are urgent. If water is dripping anywhere near a power socket, soaking into drywall, or coming out brown and rusty, turn the unit off and call a technician immediately. A plaster ceiling can collapse within 48 hours of a sustained leak, and the repair bill for water damage dwarfs the cost of a proper aircond fix.
Our emergency teams have seen this happen more than once in older high-rises. It is not worth waiting.
Book a Priority Leak Repair
We offer same-day leak repair across Cheras. WhatsApp us at 016-636 6769 with your unit details and a photo of the leak location if possible. A senior technician will reach you fast, and the RM50 diagnostic fee is waived if you proceed with the repair. Every fix comes with a 30-day warranty.